
Master the Art with Step-by-Step Gift Wrapping
- naomiocon392
- Dec 15, 2025
- 4 min read
Gift wrapping is more than just a way to cover a present. It is an art form that adds a personal touch and excitement to any gift. Whether you are wrapping for a birthday, holiday, or special occasion, mastering the skill of gift wrapping can make your presents stand out. This guide will walk you through the essentials of step-by-step gift wrapping, providing practical tips and creative ideas to elevate your gift presentation.
Step-by-Step Gift Wrapping: The Basics
Starting with the basics is essential to build confidence and skill. Here’s a simple step-by-step guide to wrapping a standard box-shaped gift:
Gather Your Materials
You will need wrapping paper, scissors, tape, ribbon, and a gift tag. Choose paper that suits the occasion and the recipient’s taste.
Measure and Cut the Paper
Place the gift box on the wrapping paper. Cut enough paper to cover the box completely with a little overlap. A good rule is to have the paper extend about 2-3 inches beyond the box edges.
Wrap the Box
Lay the box face down on the paper. Fold one side of the paper over the box and tape it down. Then fold the other side, pulling the paper tight, and secure it with tape.
Fold the Ends
On each end of the box, fold the paper edges inward to create neat triangles. Fold the triangles up against the box and tape them securely.
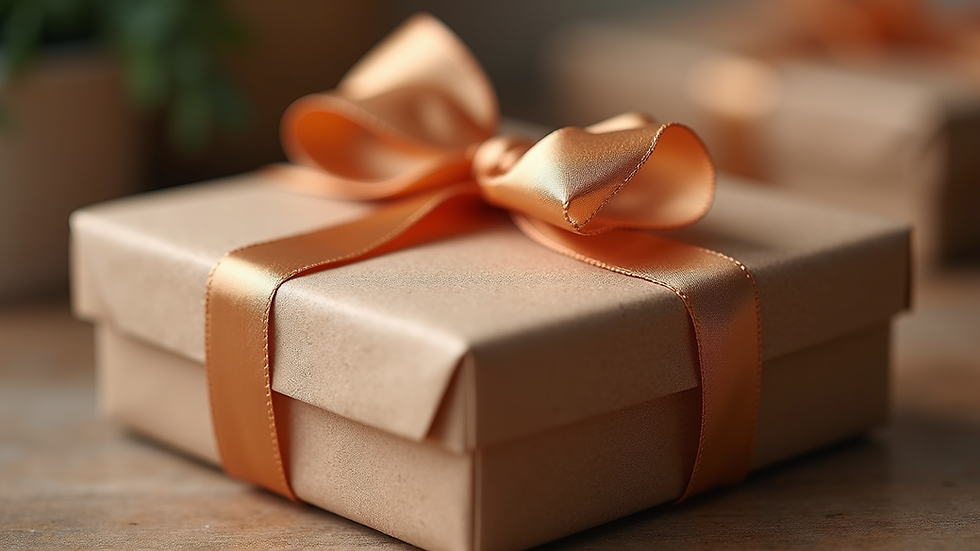
Add Finishing Touches
Tie a ribbon around the box and add a bow or gift tag for decoration.
This straightforward method works well for most gifts and can be customized with different papers and embellishments.

Creative Ideas to Enhance Your Step-by-Step Gift Wrapping
Once you have mastered the basics, you can experiment with creative ideas to make your gifts truly unique. Here are some suggestions:
Use Fabric Instead of Paper
Wrapping gifts in fabric, such as scarves or cloth napkins, is eco-friendly and adds a luxurious feel. Secure the fabric with a ribbon or twine.
Incorporate Natural Elements
Add sprigs of pine, dried flowers, or cinnamon sticks to your ribbon for a rustic and fragrant touch.
Personalize with Handwritten Notes
Attach a small card or tag with a heartfelt message or a quote that resonates with the recipient.
Try Different Folding Techniques
Explore origami-inspired folds or create gift bags from wrapping paper for oddly shaped items.
Use Double-Sided Tape for a Cleaner Look
This helps hide tape and gives your gift a professional finish.
These ideas can transform simple wrapping into a memorable experience for the recipient.
What are the Basic Gift Wrapping Techniques?
Understanding the fundamental techniques will help you wrap any gift with ease. Here are some essential methods:
The Classic Box Wrap
The most common technique, perfect for rectangular or square boxes. It involves folding the paper neatly around the box and securing it with tape.
The Diagonal Wrap
Ideal for gifts with unusual shapes. Wrap the paper diagonally around the gift and secure it with ribbon or tape.
The Bag Wrap
For soft or irregularly shaped gifts, use a gift bag or create one from wrapping paper. This method is quick and effective.
The Envelope Wrap
Suitable for flat gifts like books or photo frames. Fold the paper like an envelope and seal it with tape or a sticker.
The Furoshiki Wrap
A Japanese technique using fabric to wrap gifts in a decorative and reusable way.
Mastering these techniques will give you the flexibility to wrap any gift beautifully.

Tips for Choosing the Right Wrapping Paper and Accessories
Selecting the right materials can make a big difference in the final look of your gift. Consider these tips:
Match the Occasion
Use festive paper for holidays, elegant designs for weddings, and fun patterns for birthdays.
Consider the Recipient’s Style
Choose colors and patterns that reflect the personality and preferences of the person receiving the gift.
Quality Matters
Thicker wrapping paper is easier to work with and looks more polished.
Coordinate Accessories
Match ribbons, bows, and tags with the wrapping paper for a cohesive look.
Eco-Friendly Options
Recycled paper, fabric wraps, and reusable ribbons are great choices for environmentally conscious gift-givers.
By paying attention to these details, your gift wrapping will impress before the gift is even opened.
How to Wrap Oddly Shaped Gifts with Confidence
Not all gifts come in neat boxes. Here are some strategies for wrapping items with unusual shapes:
Use a Gift Bag or Box
Place the item inside a decorative bag or box to simplify wrapping.
Create a Bundle Wrap
Wrap the item in tissue paper or fabric, then tie it with a ribbon or twine.
Use Cellophane Wrap
Transparent cellophane can be gathered around the gift and tied at the top, perfect for bouquets or baskets.
Custom Cut Paper
Cut the wrapping paper to fit the shape, folding and taping carefully to avoid bulk.
Add Padding
Use tissue paper or bubble wrap inside the wrapping to protect fragile items and maintain shape.
These techniques ensure your gift looks polished, no matter its shape.
Elevate Your Gift Wrapping Skills Today
Gift wrapping is a skill that anyone can learn with practice and creativity. By following these step-by-step instructions and exploring new techniques, you can turn every gift into a beautiful presentation. For more inspiration and detailed guides, explore gift wrapping tutorials that offer expert advice and creative ideas.
Start wrapping with confidence and make your gifts unforgettable!


Comments